2022-06 Tomales Bay Kayak Camping`
TL;DR
Two very under-experienced but overly-confident kayakers watched a Youtube video about kayak camping in Tomales Bay, and wondering: “Well, we have a kayak too… What Could Possibly Go Wrong…”
After paddling against 15-20+ MPH wind in an inflatable kayak for 6+ hours, thankfully nothing went horribly wrong, but we certainly learned a few lessons the hard way…
Recovered from a night of having an entire island to ourselves, thoroughly enjoyed the solitude and peaceful view, we cruised all the way back to where we stared. With the wind on our back, the return trip took just 1hr40min and almost effortless.
Pretty much every information you need to know about kayak camping in that area can be found here, and you can find basics about kayak safety here.
Routes

Choosing a starting point
Overall there are two main options: launching from south, or launching from the north.
If you plan to park and launch from north (Lawson’s landing or Miller Boat Launch):
The more north it is, the closer you are from (or even outside) the mouth of the bay, which means stronger waves. Many articles/youtubers recommended against Lawson’s landing unless you are experienced kayakers.
All launch sites on the northern side are on the different side of the bay from the campsites. So you will have to cross the bay twice. In choppy waves, this is not fun.
It’s a much shorter distance (<2 miles one way) to get to the two main campsites (Tomales Beach or Marshall Beach).
If you plan to park and launch from south (various sites near Tomales Bay resort):
No need to cross the bay. You can always stay close to the shore.
Lots of beaches in the middle to stop and rest.
Longer distance to reach campsites (>5 miles)
Going north is against the wind most time of the year.
We end decided on option 2 to launch from south, mainly for the reason of easier and consistent shoreline access.
When it comes to specific launch site, one thing to consider is your transportation options for getting there and leaving. If you plan to drive to the launch site (and camp overnight), you need to find overnight parking. There are a few different boat launch sites along Tomales Bay on both sides (see all the boat launch icons on the map above). However afaik, there are officially only two launch sites that provide overnight parking: Miller Boat Launch on the north, and Tomales Bay Resort on the south.
We chose Tomales Bay Resort given we decided to start south. You can park overnight for $20 even if you are not a hotel guest. The experience was very positive:
The staff there was super friendly.
Gets to use facilities like a very clean and well maintained bathroom for changing.
The launch site has water hoses for cleaning the boat after your trip.
Choosing an overnight campsite
The map above is fairly self explanatory. Anything north of (including) Kilkenny Beach is ok to camp overnight.

The first thing you need to decide is whether you plan to bring your own portable toilet or not. If no, then your only choices are the two beaches that has toilet on-site: Tomales Beach and Marshall Beach.
The next thing to consider is permit. Tomales Bay requires permit for BOAT-in campsite. There are a few types (see the pic on the right). The top two provides more flexibility since you can camp overnight in any BOAT-in sites, whereas the bottom 3 are specific to a given site. I would recommend the flexible permit, as your plan can change on that day because of weather and tide, so you may want to have some flexibility when it comes to where to stop for the night. In practice though, we didn’t see any rangers checking permits.
The last thing to consider is tide v.s areas available for tents. You can read about tide level and timeline here before your trip, however it is hard to assess how much areas are left that’s above tideline that day until you arrive at your site. Again, that’s why a flexible permit is more useful. We were planning to camp in one of the smaller beaches as we were fairly exhausted and didn’t want to paddle further north. However the first beach we landed on was fairly small and the camp area is not raised high enough so we worried a high tide could potentially reach our tent area. We eventually continued all the way to Marshall beach, which is very large, far raised from the water, and was completely empty that day.
One thing worth noting: some of the beaches along the west side of Tomales bay is private property. Read the signs carefully.
All the campsites are as primitive as it gets. There is no running water in any of these campsites. So make sure you bring abundant water for drinking, washing, and cooking.
What to bring?
For Paddling

Self-rigged bungee cords

First Stop. With drybags fully loaded.
A kayak, of course…
We (two of us) debated about whether we will take one kayak each, or going with one tandem two person kayak. The main reason was we worried that there will be not enough space to all camping gears into one boat. After packing and testing it in our garage, thanks to the large size of our 2-person kayak, all things fit nicely, so we settled with a single 2-person kayak. This turned out to be a deal-breaker decision. Had we taken one kayak each, we likely won’t be able to paddle through the strong waves and winds individually. So we were really really glad that we decided to stick together :)
The kayak we took was Intex Excursion Pro. This inflatable kayak definitely stood all the tests we throw at it, and exceeds our expectation strongly in all aspects:
It is incredibly stable. When sitting without the booster seat, it felt like I was hugged tightly by the two sides of the boat. Even in several feet of waves, I never had a single moment of feeling unsafe. Part of the stability came from the width, and as a result, we sacrifice speed. However for beginners it is definitely a worthwhile tradeoff.
It is spacious. Besides the two of us and our seats, we loaded 4 40-50L drybags onto it, with 3 gallons of water, and we still have plenty leg room. See the “First Stop” picture on the right.
It is easy to inflate and deflate with the pump that came with it. Takes about 5 minutes each.
There are a few things that I wish could have been improved:
There is no bungee cords to secure bags, so I have to rig a few myself through the D-rings in the front and back.
On the back seat, the fishing pole holder attachment points is in the way as I paddle. This is extremely annoying as my hands repeatedly scraps against the plastic edges. Quite a few “damn-it” moments.
Overall. I am still very happy about this kayak. Highly recommend as an entry level beginner inflatable kayak (mostly for calm water)
Paddles, of course…
One of the worse things that can happen, is you somehow lose your paddle… This is more likely than one might imagine: flipping over, paddle falling off the side of kayak while you are not paddling, getting caught up by seaweeds, etc. We brought a spare pair of paddles, and tied it close to our seat to be easily accessible.
I later also invested in some paddle leashes. The last thing I want to happen (except flipping over) is to have to paddle in ocean water with my two hands… It would be hard, of course, but also hilariously embarrassing…
PFD/Life vests, of course…
Don’t go out if you don’t have a U.S. Coast Guard-approved PFD. Just no.
Map or navigation devices
Waterproof / Water resistant clothing
Water shoes.
Landing areas can be slippery, and can have sharp rocks. Don’t paddle bare foot…
Sponge and/or pumps
We brought a sponge, which turned out to be unexpectedly versatile and useful. In choppy waves, water started to pool up in small puddles, and the sponge worked nicely to clear them out. We also used it for cleaning the kayak too, and it worked much better than towels.
In hindsight, we probably should have bring a bilge pump just in case as well.
Extra rope and carabiners.
Didn’t end up using this for paddling. I originally intended to use it for tying down the kayak if needed. Although, we found an unexpected usage of these ropes: drying up clothes…
Sunglasses, Hats, Sunscreen
First aid medical kit
Towels, changing clothes
Even when we are not doing camping, I always prefer to have some dry clothes to change into after paddling, especially in sea water.
For Camping
A bunch of dry bags
We ended up buying a few drybags from Amazon, all roll-top style (cheaper), and bright yellow color (for visibility). Before the trip, I put them into “bathtub test”: loaded them with some weights, rolled them up, and throw them into a bathtub full of water for 10 minutes. To be honest, I am not very happy with the roll-top style. None of them stood the test, and all of them ended up with small puddle of water in them. I did such test mostly to see how bad it would be if our kayak flip over and the bags had to be submerged in the water for some period of time. In practice, this didn’t really happen, and the bags all did fine against splashes of waters. However, I would not trust my sleeping bag with these dry bags in waters with higher chance of flipping over.
Biodegradable soap and wipes
There is no shower or running water on any of the campsites. To be responsible, for cleaning ourselves, we brought biodegradable soap and washed/wiped with water. The same applies to toothpaste.
Water, LOTS of water. We estimated 1.5Gal per person, for drinking + cooking + cleaning, over the period of ~24 hours. It turned out to be a bit more than what we actually really used. However YMMV.
An important note: filters won’t work in Tomales Bay camping, because there is no fresh water at all. It's all sea water around you.
Bear canister. We rented one from REI. I don’t think there are bears nearby though, it was mainly for preventing raccoons raiding your food stash.
Large trash bags. Campers need pack everything out.
Food. We bought a bunch of backpacker food from REI. They turned out to be more tasty than we expected… or maybe it was because we had a low bar after a gruesome day…
The rest are just normal camping stuff: Tents, sleeping bags, footprint, sleeping pad, fuel, stove, utensils, headlamps, power bank, charging cables, etc. Don’t forget your toothbrushes too :)
Preparation before the trip
Wind direction. With the land on both sides, Tomales bay is effectively a wind tunnel. Wind blows from northwest to southeast during most part of the year, with the exception of Nov and Dec [source]. Hence, if you are doing a roundtrip (in most cases), you will be against the wind either the day going out, or the day coming back. For us (end of May), the wind is coming strong from north on both days.
Wind speed. Check the forecast here. The wind speed heavily dictates water surface speed, as well as how choppy the waves are. We paddled against ~20mph, it was exhausting to say the least…
Tide time. Check the forecast here. Rising tide means water flowing into the bay (from north), and vice versa. Plan your trip accordingly can save you some time.
Weather. Needless to say, almost nobody enjoys paddling in the rain. If there is a chance of raining, bring rain jacket or waterproof clothing.
Test your kayak. We inflated our kayak in garage and left it there for a day, to check for any leaks.
Download offline map on Google map before your trip. At the campsites, we actually have quite good reception for both Verizon and AT&T. However, in the middle of the bay when we paddled, we only had spotty LTE/4G/5G reception, although AT&T seems to be doing slightly better.
Day 1
We started early around 8:15AM, in order to leave some buffer time for rest during the day. After an 1h30m drive, we arrived at Tomales Bay Resort, paid our overnight parking fee, greeted by the friendly staffs there, inflated our boat, and off we went around 10:20AM!


Oh, yes, remember to use the bathroom before heading out! Last chance of the day to use flushable toilet, a luxury!
Shell beach
As we started paddling, a kayak group going the opposite direction passed by us, and the group lead greeted us with: “It’s gonna be a tough day going that way!”. Little did we know, this turned out to be quite an under-statement…
The first mile was actually fairly uneventful. We definitely felt the wind picking up, and some resistance, but completely manageable. At 12:00pm, we stopped at Shell beach for lunch. Shell beach is fairly accessible by foot, so there are quite a few groups there and packed.
Our second segment (from Shell beach to Indian Beach, about 1.5 mile) was the most difficult part of our entire trip. Here, as two unexperienced kayakers who’s only paddled in lake water and very calm sea water before, we made a huge mistake here by paddling in the middle of the bay instead of tucking into the coves and staying close to the shore. By doing this, we were exposed to the full force of the head wind. At the second half of this segment, the wind speed on my smart watch read between 16mph and 25mph from time to time. I am not sure how much I can trust the reading, however, to give some perspective: the wind and waves were so strong that neither of us could afford a break from paddling without going backwards. The moment either one of us takes a rest even for 30 seconds, we would immediately find us getting pushed noticeably further away from the goal post we set. The wave also was getting serious, although our boat held up very well and it didn’t bother me very much once we got used to it. By the time when we finally reached Indian Beach, both of us were completed exhausted.
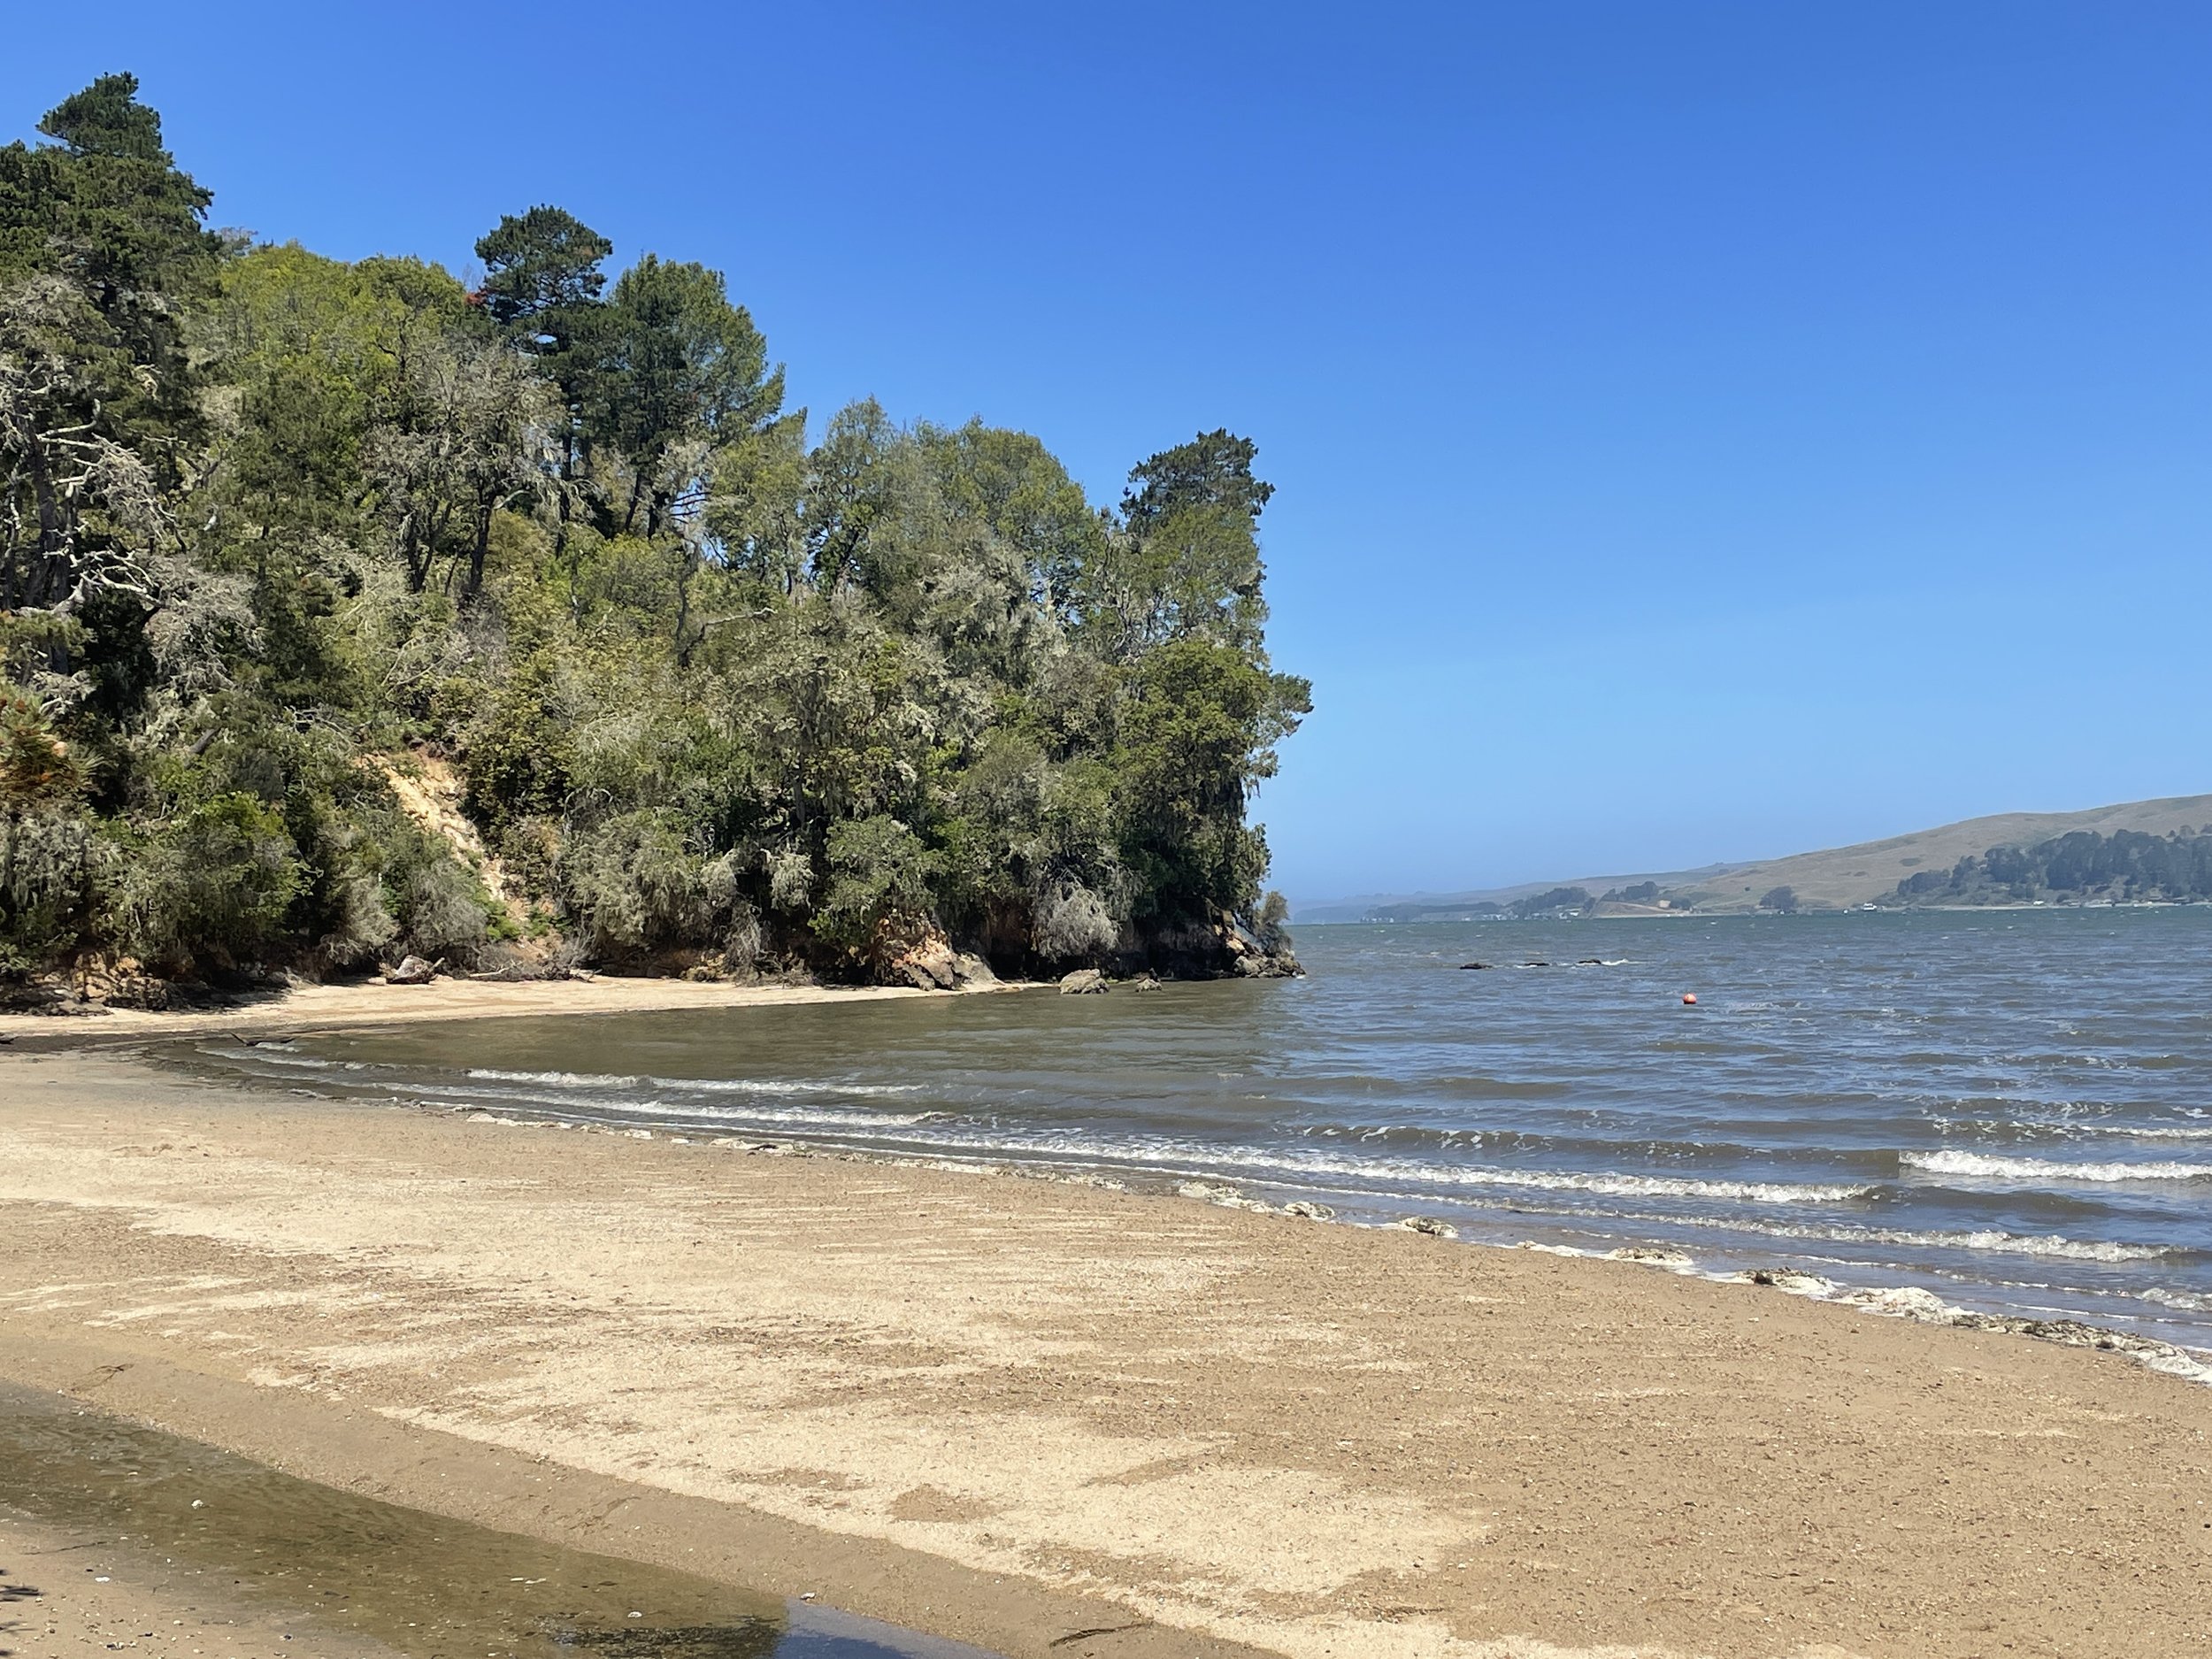
Indian Beach were very recognizable, as there are two small huts located on the southern end of the beach. I fell into the water by accident as I tripped when stepping out of the kayak, so I took advantage of the huts to get some privacy to get changed and spent 30min drying my clothes. While both of us were seriously considering whether we should find some closer beach instead of Marshall as our overnight campsite, two very experienced kayakers who were chilling out approached us. Apparently they have been watching us struggling in the middle of the bay for the last 30 minutes or so before we land. They advised us to stay along the shore and inside the coves, to take shelter from the strong wind. This was completely a game changer. Knowing what we were doing wrong, we regained some confidence that we can do better in the next segment and doesn’t have to bail right away. After thanking and waving goodbye to these two friendly kayakers, we rested for another 15 minutes, and continued to move north.
Our 3rd segment (~1.5mile) became much easier, thanks to the new strategy of staying closer to the shoreline. On top of that, the high tide has also passed (around ~1:20PM that day) and it started retreating. Another benefit of staying closer to the shoreline is it was easier to spot various birds along the coast line. We still ran into some strong headwind as we come out of one cove to enter the next one, but that’s just a small portion. We stopped somewhere between Long Cove Beach and Kilkenny Beach (forgot which one exactly), and was initially planning to call it a day and just camp there. However, after surveying the location, the camp-able area in that beach was fairly small and wasn’t high enough, and I worried we might get below the high tide line during the night (which likely is a bit paranoid…). To be safe, we decided to stick with our original target (Marshall beach) and make one last push towards it.
We landed at Marshall Beach around 5:30 PM, marking the end of a long day of kayaking. Marshall beach has a quite large flat grass area that is great for camping, with a unobstructed view of the ocean and bay, and raised high enough from water. The total paddling time of that day was about 5-5.5 hours.
Camping
The entire beach was empty that day (being a Monday, and a boat-in only campsite). That dawned on me that: throughout the entire day, we were the only kayak going this way (north-bound)…

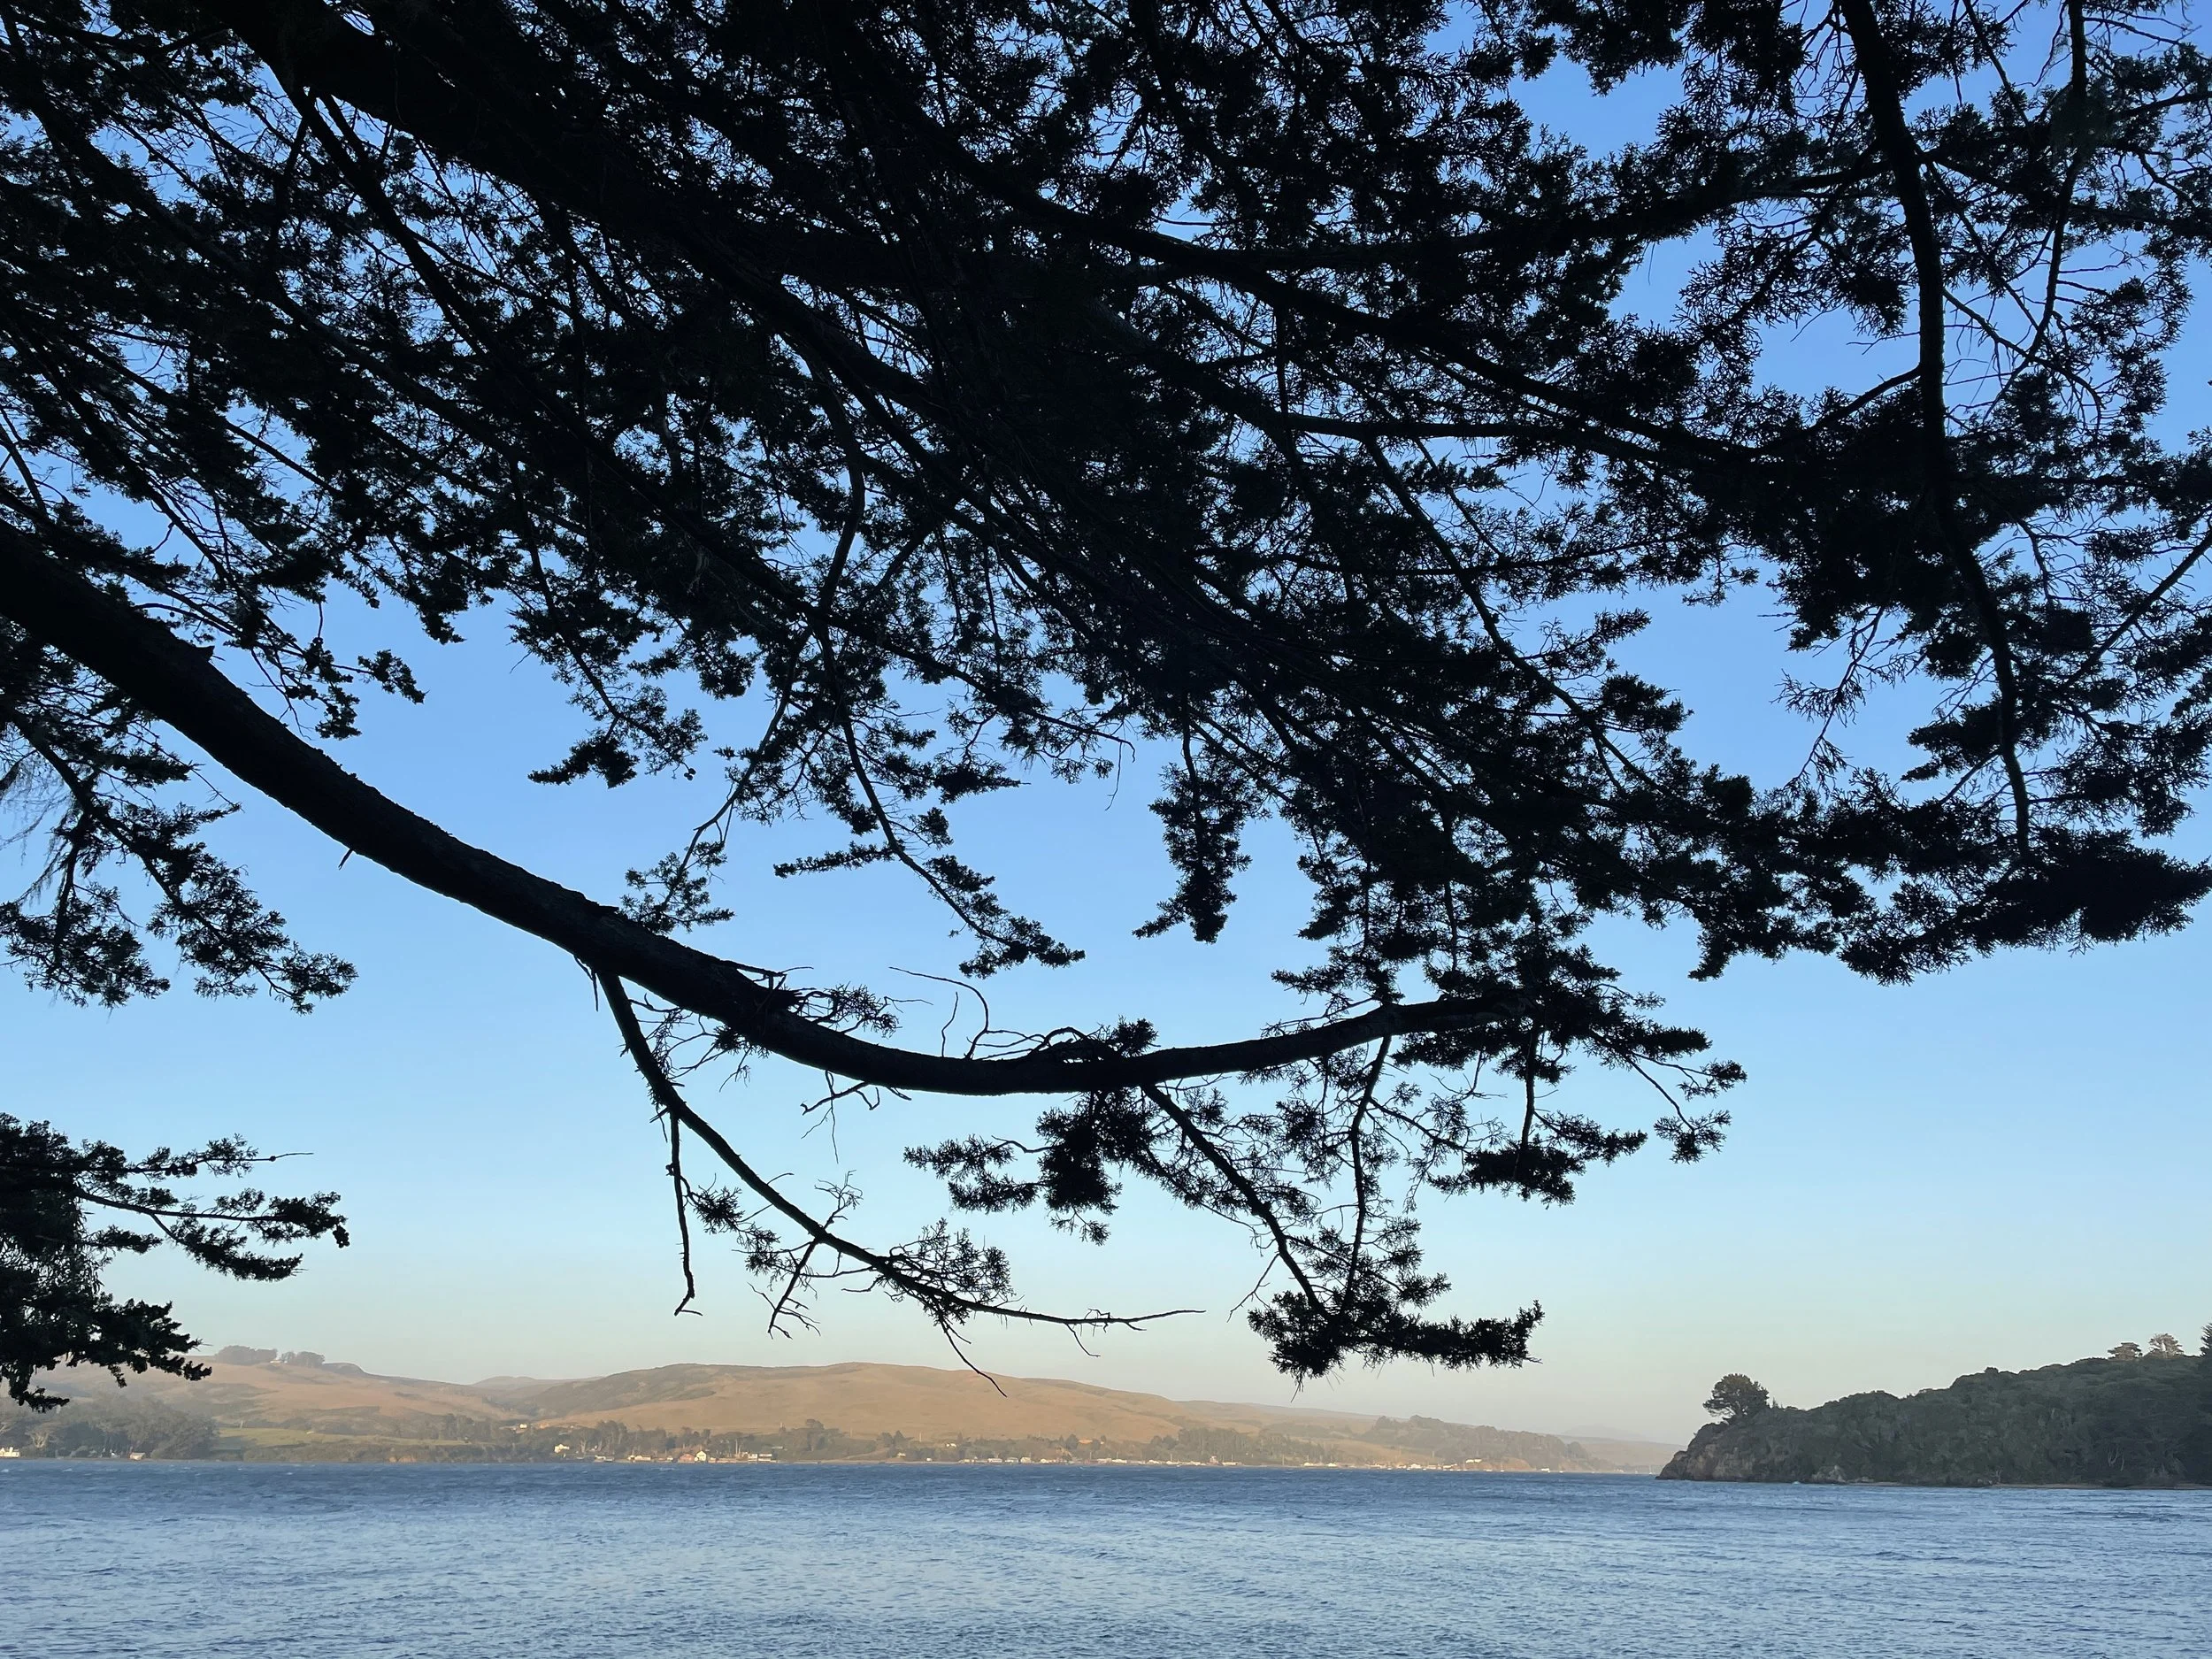
Marshall Beach, overlooking the east side of Tomales Bay. I envy the families who live in these houses. Killer views every day.
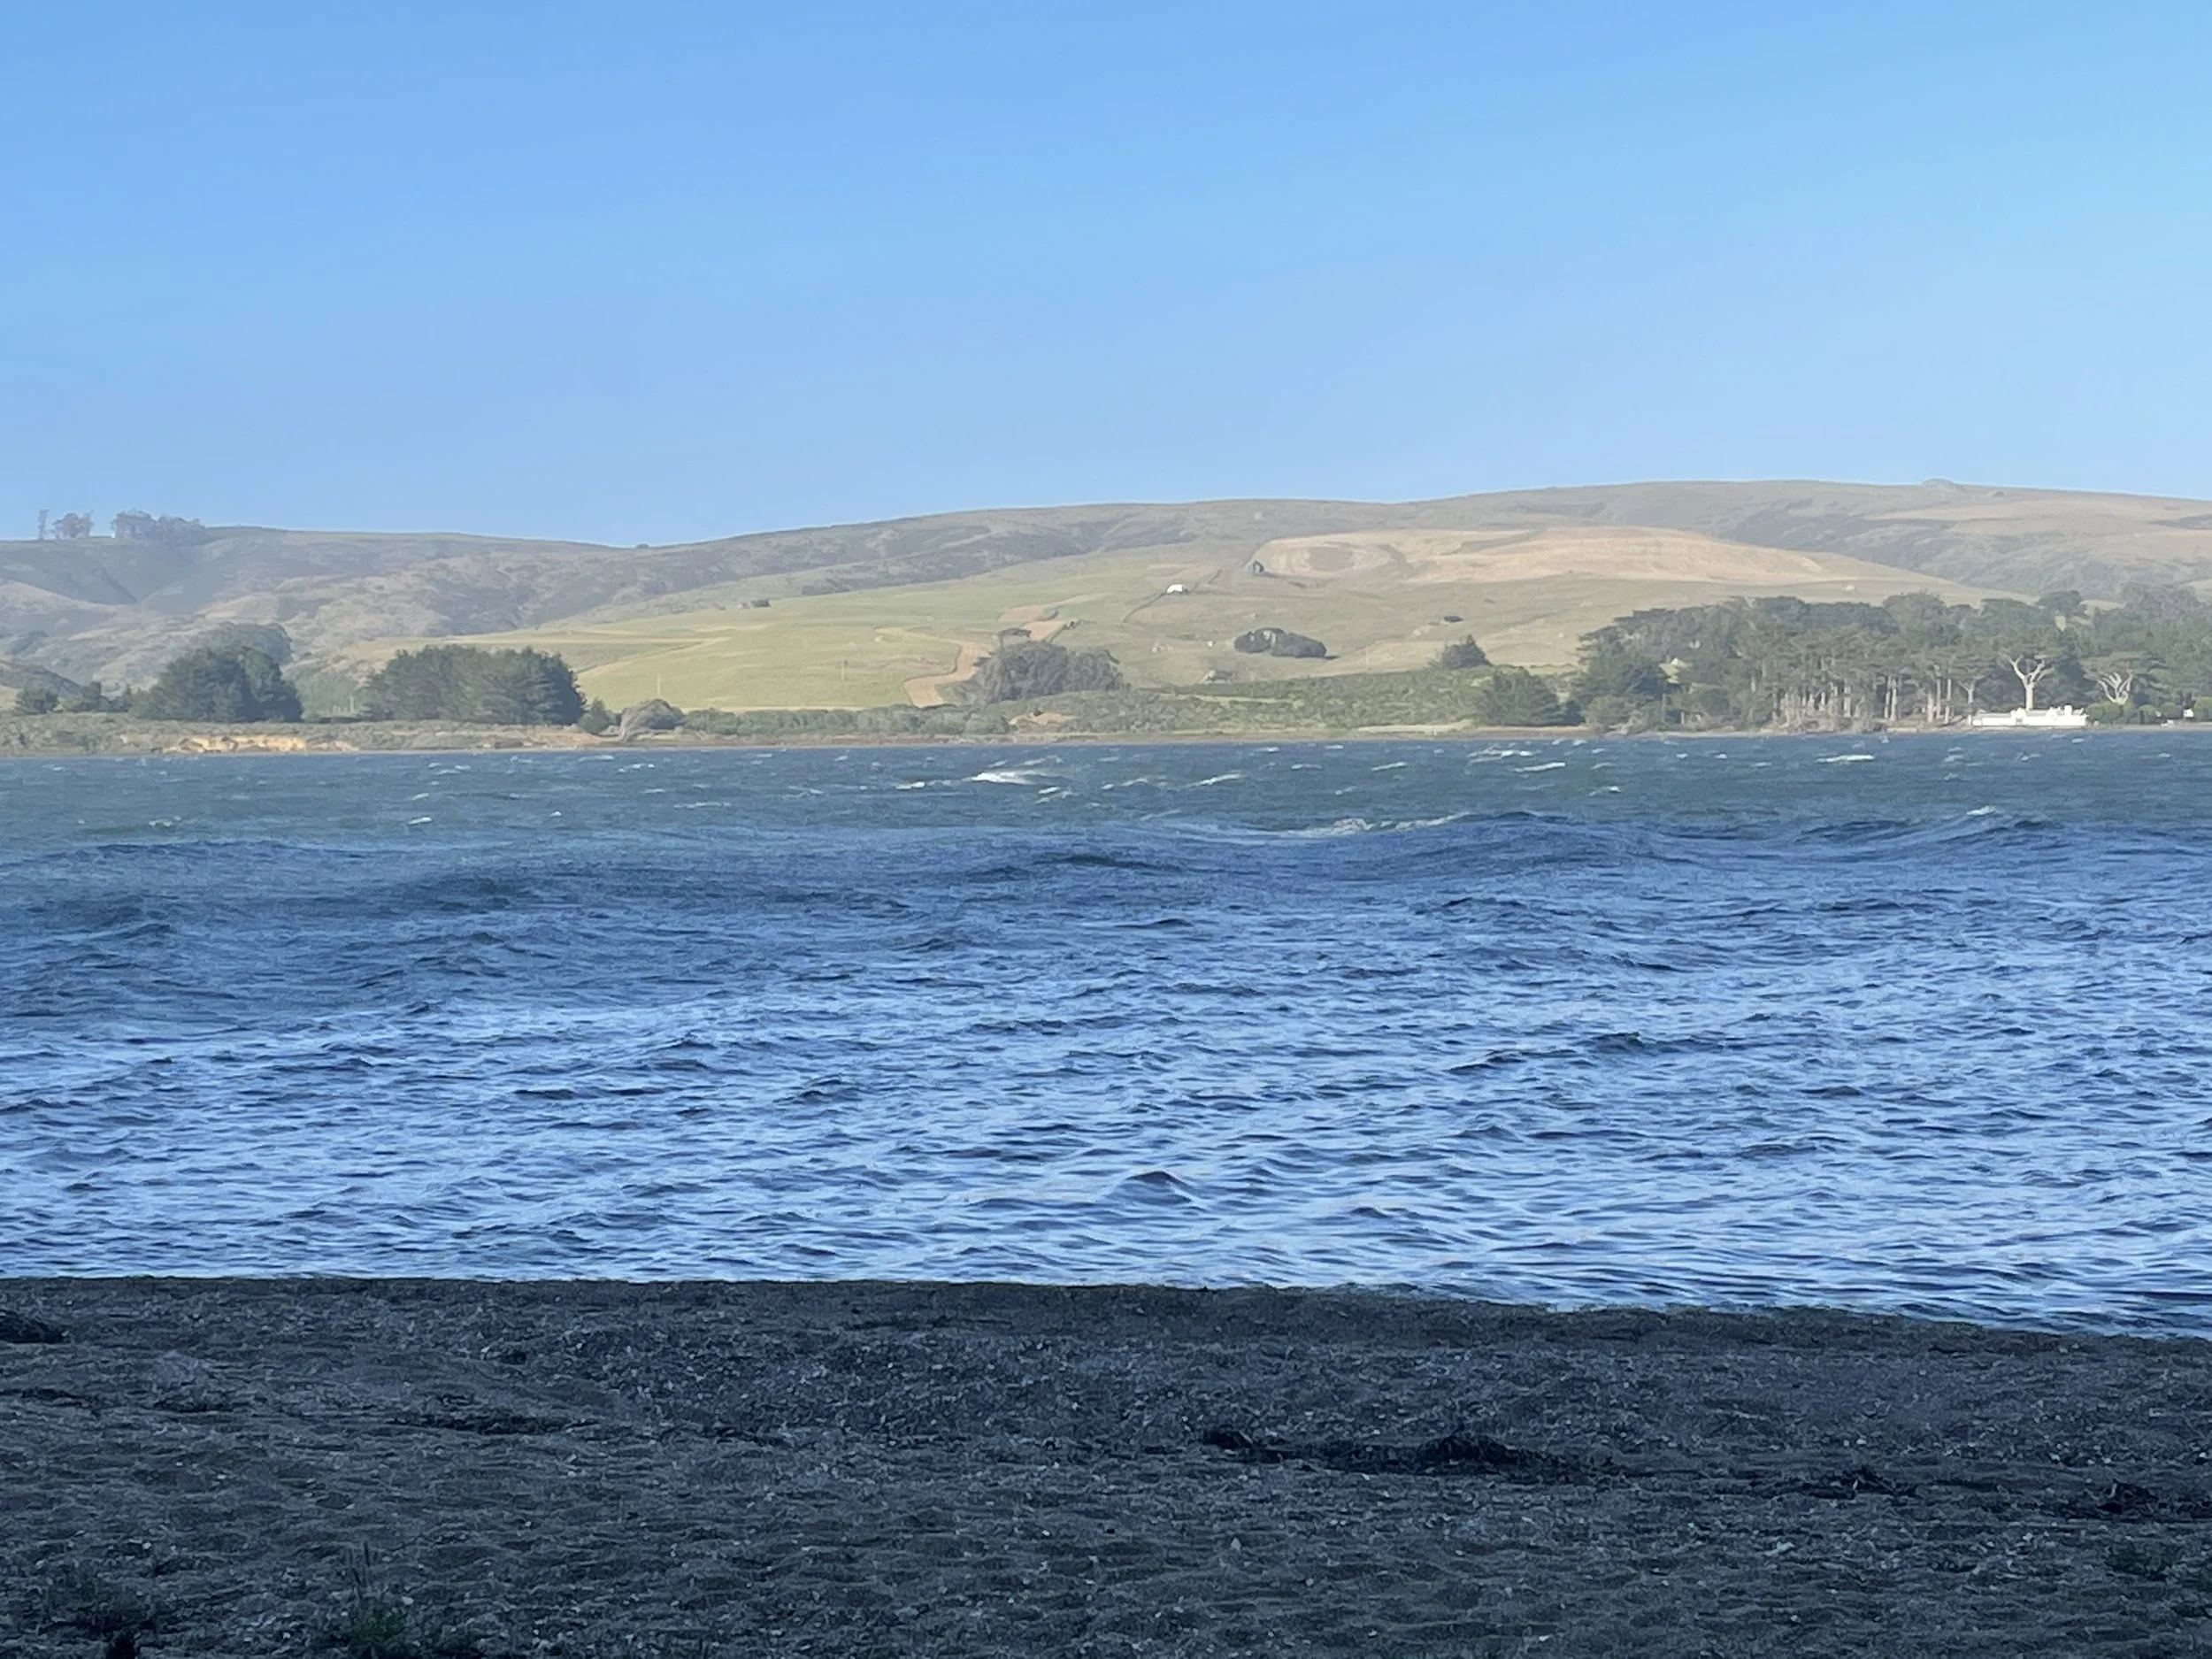
It had quieted down a lot by this time when I took the picture, but still some serious waves there.
We secured our boat (in case of tide or strong wind blowing it away), got changed, hung up our wet clothes to dry over night. It was extremely quiet, no mosquitos, no sight of any land animals. As I was setting up our tent, I was regretting that I didn’t consider bringing a hammock here, as it would be quite ideal place to hammock camp. Next time I guess.
The bathroom was somewhat out of the way, however, it was surprisingly well maintained and cleaner than most of the vault toilets I’ve seen in national parks.
After enjoying a meal of multiple packs of backpacker food with various flavors with Jetboil, we happily retreated into our tent. Being exhausted, I fell asleep immediately, even faster than the sunset… Zzzzzzzzzzzzzzz


We Chinese are born talented in clothes drying.


Day 2
Despite my sleeping pad wasn’t very comfortable and already deflated by the morning, I still had a great sleep thanks to how tired I was the previous day. With that, paired with our breakfast and coffee, we recovered some energy from yesterday, and started heading back around 10:40AM.

Ready to paddle back!
Heading backwards (southbound) was a completely different experience. Even though there is almost little wind the second day, the wind was still on our back and the tide was going the same direction. The entire trip back was almost effortless, and it only took us 1 hour 40 minutes with no stops at all in the middle (compared to ~7 hours with 3 stops the first day).
We landed back where we started (Tomales Bay Resort). There is a nice boat dock and ramp, where you can wash off the mud and sands from your boat (see the water hose on the left side in the picture below).

Boat dock and launch ramp of Tomales Bay Resort.
Summary
We should have done a bit more research on how to kayak in strong wind condition. Even though throughout the entire trip we never felt unsafe, it was an unnecessarily challenging and excruciating 40-50 minutes fighting the full strength of 20mph+ wind.
We were really lucky to have someone coming to us and gave us crucial tips that saved our day. Otherwise we likely wouldn’t be able to make it to Marshall beach.
I am also glad we didn’t give up. We fought through the challenges and learned the lessons together, and it was also really fun having the entire beach to ourselves. Great ocean/bay view with complete solitude.